- Friday 04 October 2019
Planning on skipping this process? Tsk! You have been told, always sterilise your jars before pickling and preserving. Unless you like harbouring the unwelcome gang like bacteria, yeasts, fungi, or microorganisms, the first step in any adventure in jar-related food preparation is sterilising. Free of contamination means your preserved food stays fresh for longer. It’s not that difficult, really.
Sterilising
There are a few common methods to sterilise your preserving jars, using an oven, dishwasher, or microwave oven. If you are new to Kilner jars, we will be going through the Water Bath Method instead, as recommended by Kilner. But before you rush to start the sterilising process, check over the jars and bottles to be used, for any chips or cracks. Retire damaged jars from preserving, and repurpose them as something new…we’ll talk about that on another blog post, let’s get cracking!
Water Bath Sterilisation
This method is best suited for fruit or vegetable preserves with higher acidity levels, when making jams, chutneys or pickles. It is tried and tested, but jars and other jam making tools to be used, would still have to be thoroughly washed prior to sterilisation, to remove any dust and dried food debris.
What you’ll need
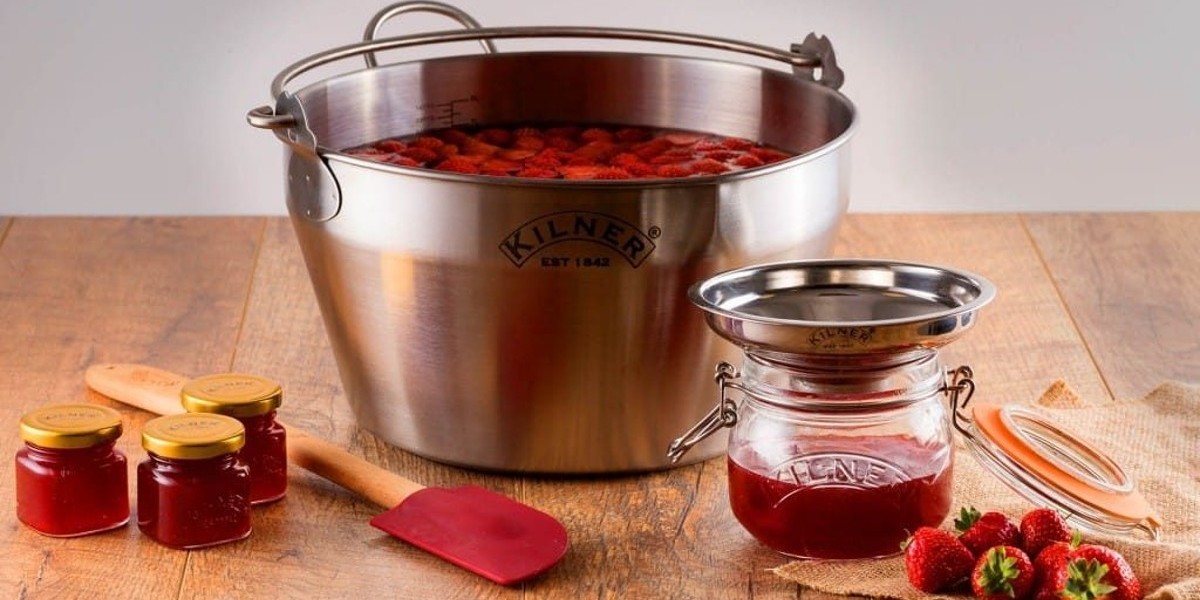
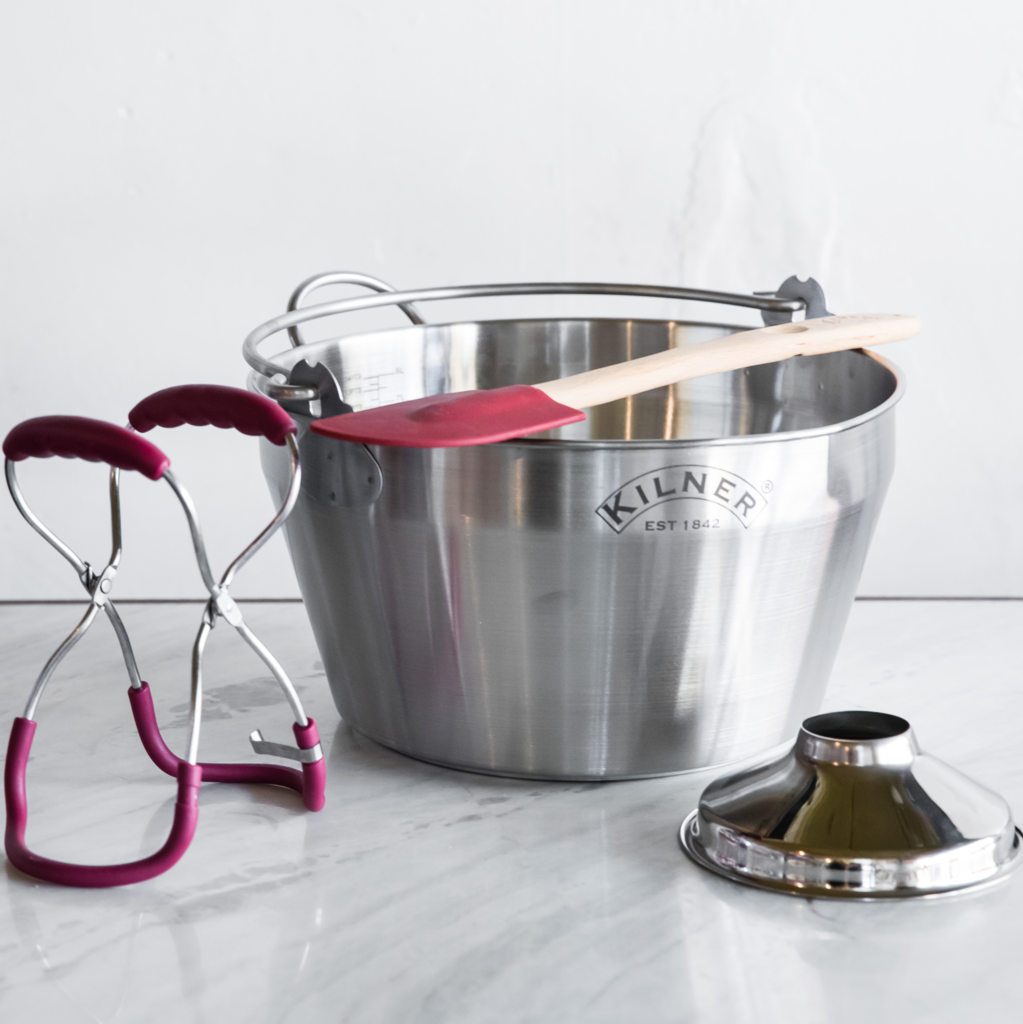
- A deep pan, like a Maslin Pan or Stock Pot with a lid.
- Heat-resistant plate or stand, to prop the jars on in the pan (or improvise with a round cake cooling rack, trivet, etc)
- Thermometer and Lid Lifter
- Jar tongs (yes, they are hot!)
- Small saucepan with lid or any size that would fit
Method
Remove all lids, rubber seals, bands or rings, and place them in a saucepan, to be sterilised separately later.
Place heat-resistant plate or stand into the bottom of the Maslin pan, follow by the jars on top of the plate. Fill the pan with cold water until jars are fully submerged.
Slowly bring the water to the boil and keep it boiling for a maximum of 10 mins. Turn off heat, cover Maslin pan with a lid, with the jars still inside, keeping them warm until they are ready to be filled.
With the lids and rubber seals in the saucepan, under about 10cm or 4 inches of water. Heat water to about 82°C, let it simmer for 10 mins. Test with themometer before turning off heat, cover saucepan until you are ready to seal the jars. Use the lid lifter to lift lids, avoid touching them unneccessarily.
It is important that the jars are still warm when filling them, if they have cooled down, simply repeat the process again.
Filling & Sealing
Kilner jars comes in 3 types of lids. Preserve jars are ones with screw bands and disks, other jars have twist top or clip top. Whichever you choose to use, they all go through a simple step of the processing stage – to remove excess air by creating a pressure seal. When done correctly, this step helps eliminate bacteria, and could preserve and store all your hard work for up to 6 months! Click on the video to watch the sealing process.
Final Note
After all that, very importantly, please, do not attempt to sterilise your jars and bottles by pouring hot boiling water directly into them. Why? Few and far between reasons but long story short, weather perhaps, hot, cold, expansion, contraction…it’s physics, it’s chemistry, it’s elementary!
We stock all your jam making essentials here. Happy jamming!